Sometimes it seems like everybody has thrown out their eyepieces and only images the sky. Even though Astrophotography is hot there are many astronomers who wants to SEE the objects live with their own eyes. Some even acquire sets of eyepieces to be able to enjoy the wonders of the sky with both eyes…
In this post I will look a bit into the subject of Bino viewing. By Bino Viewing, I mean any solution where the observer uses both eyes when observing
- Binoculars
- Bino-viewers – Beam splitting device installed on a single telescope
- Bino-Scopes – Two identical telescopes installed in parallel
The post will touch the following subjects:
- The advantages of observing with two eyes
- The bino-viewer
- The bino-scope
- Telescope Mounts for Bino Viewing
The advantage of observing with two eyes
Relaxing and easier to see small details
Observing with two eyes means that both eyes receive the telescopic view of the object. This is how our eyes are meant to be used, so it will for most observers feel more relaxed and natural. Small details hardly visible will be easier discerned by the brain, when the same signal is coming from both eyes. So using both eyes gives a more comfortable observing experience and allows for seeing smaller details.
A 3D experience
Real 3D views that you can get on terrestrial objects are not possible due to the distance of the celestial objects. But it is often reported that a 3D effect can be seen when observing with both eyes. Especially on the moon and the planets.
Observing faint objects
When it comes to seeing faint objects, two eyes will also do better than one eye if the light intensity is the same. If you add a beam splitter to a telescope, so that each eye only receives 50% of light, it will be more difficult to see a faint object than if you use one eyepiece on the telescope and get 100% of the light into one eye. But the difference might not be so big as it sounds.
It comes at a cost
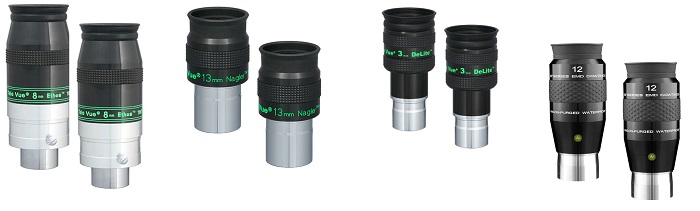
Observing with both eyes means you will need extra equipment and two of each eyepiece you use.
Let’s look at the needed equipment.
The bino-viewer

A Bino-viewer is a unit you install in the telescope focuser that splits the light into two eyepieces. Generally speaking a bino-viewer consist of:
- A beam splitter
- Sets of prisms or mirrors to direct the light to the two eyepieces.
- Two eyepiece holders with adjustable distance to match the observers eye distance.
- Sometimes a barlow lens can be installed in the front to help get the device in focus.
This basic principle can be twisted to make many different versions of Bino-Viewers. I will not go into details with this but just point out that the quality of the Bino-Viewer is very important. It contains several optical elements that must be of excellent quality and correctly aligned not to deteriorate the image coming from the main telescope.
Adding a Bino Viewer to an observation kit can be costly and it is necessary to get sets of identical eyepieces so the eyepiece budget doubles.
But the experience is fantastic!!
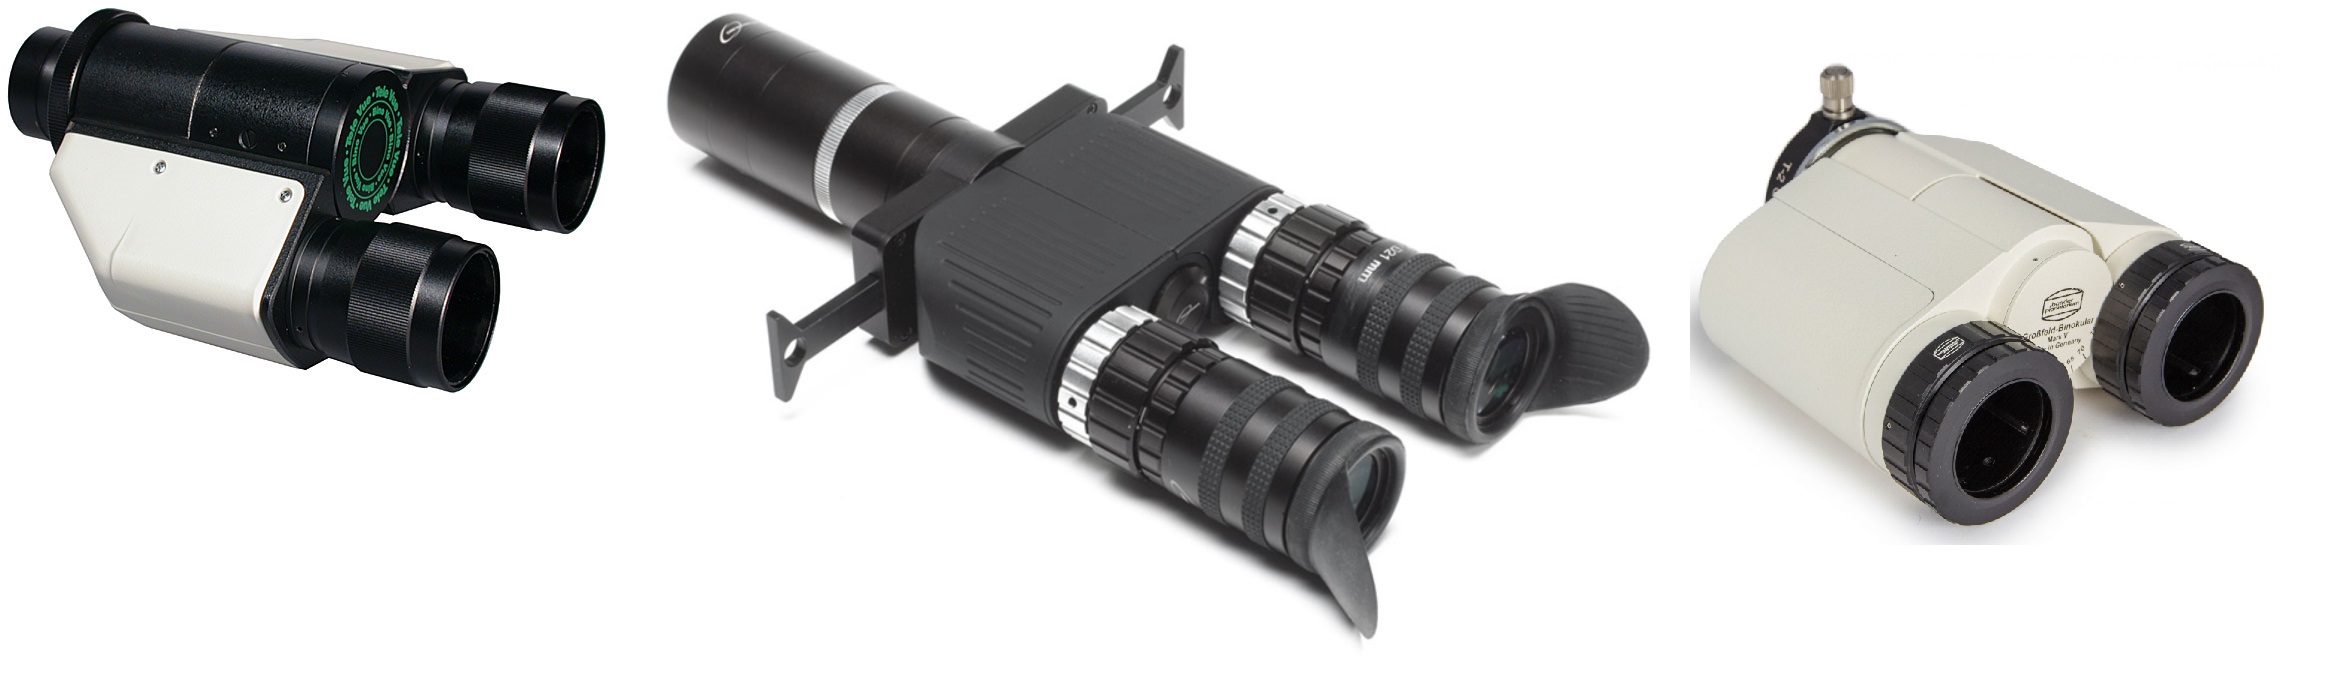 Examples of very good Bino Viewers are TeleVue Binovue, Denkmaier Binotron 27 and Baader Planetarium Mark V
The Bino-Scope
My definition of a Bino-Scope is:
A combination of two parallel identical telescopes with adjustable exchangeable eyepieces.
This definition excludes normal Binoculars even though some larger models come with the possibility to change eyepieces.
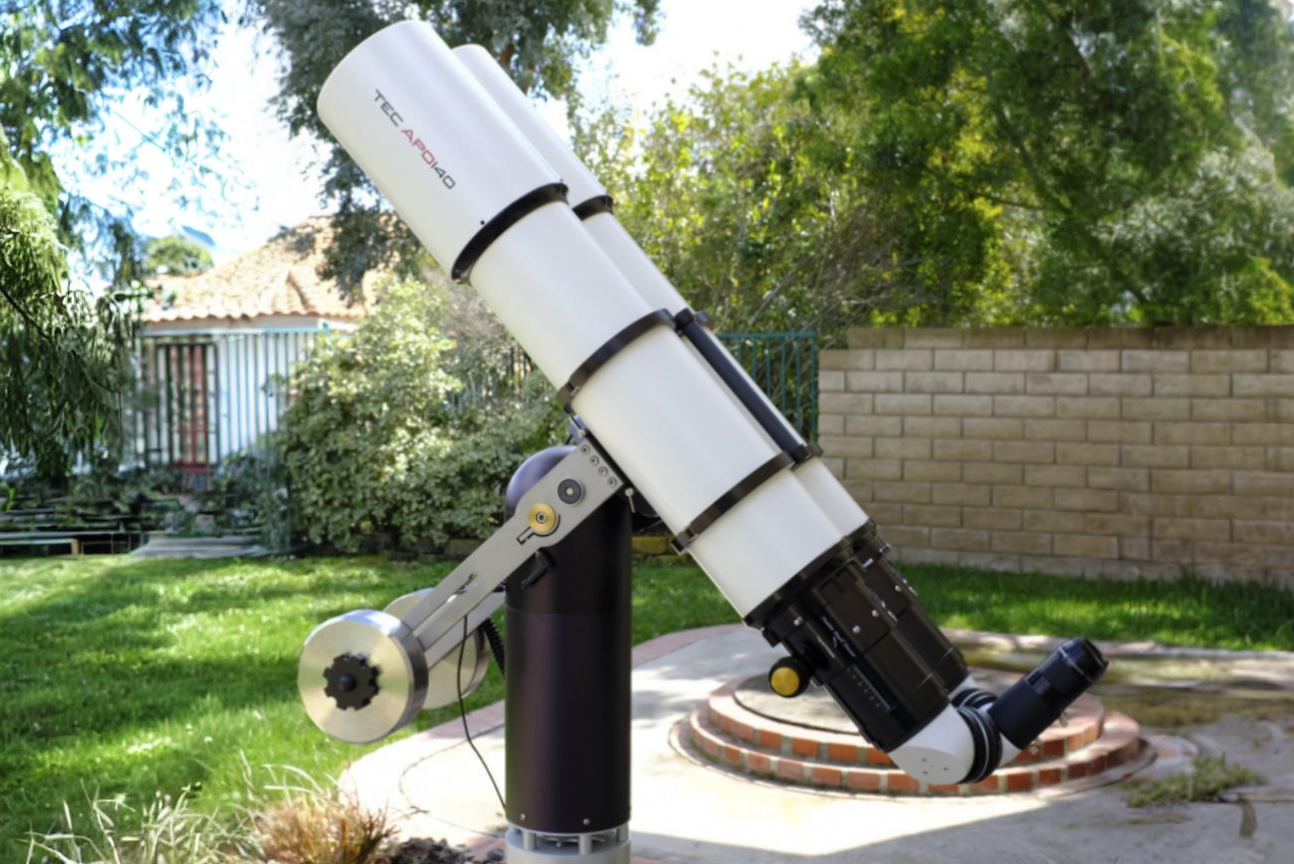
Typically it will be two refractors:
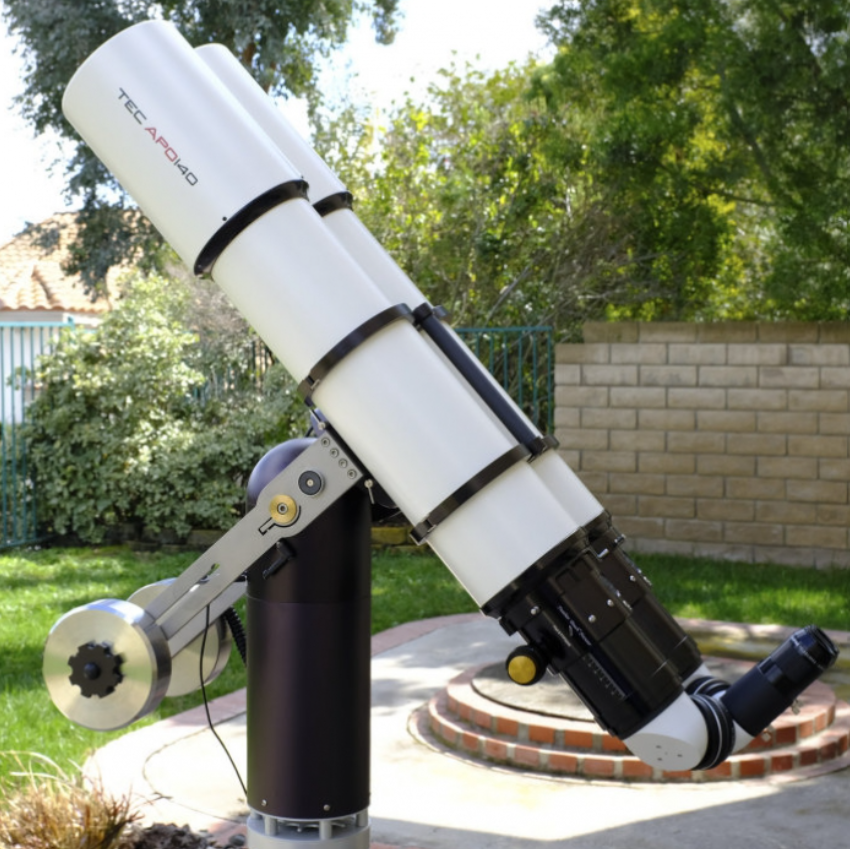
To position the eyepieces correctly many high end Bino-Scopes uses a special system from Mr. Tatsuro Matsumoto – Erecting Mirror System (EMS)
It is expensive to get two nice refractors but – as an example two TEC-140 APO will cost approximately 15.000 usd. To get the same combined aperture from a single telescope you will need a TEC-200 APO costing approximately 30.000 usd. So from a light intensity point of view the Bino-Scope solution is much cheaper – but of course the resolution will still be like a 140mm.
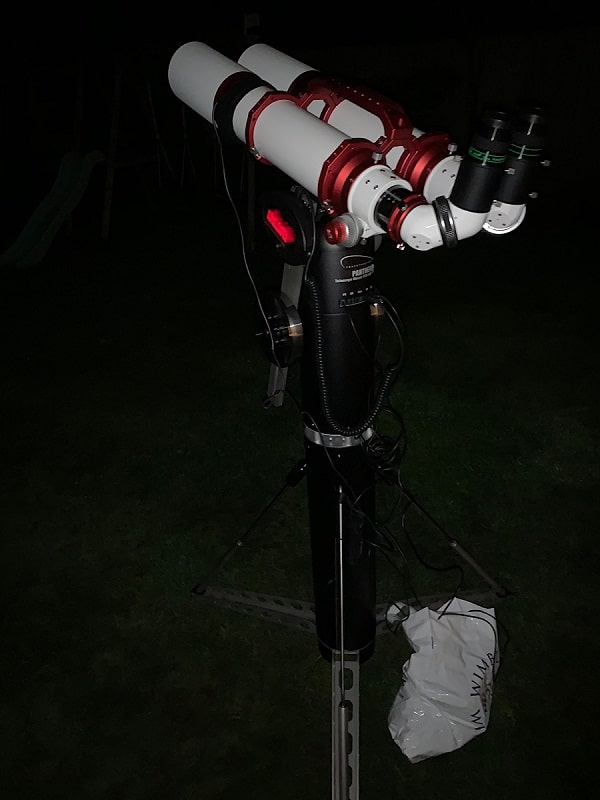
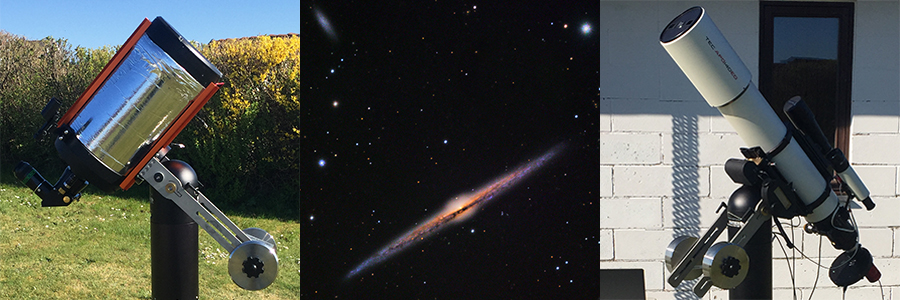
For larger aperture, reflectors is also a possibility:
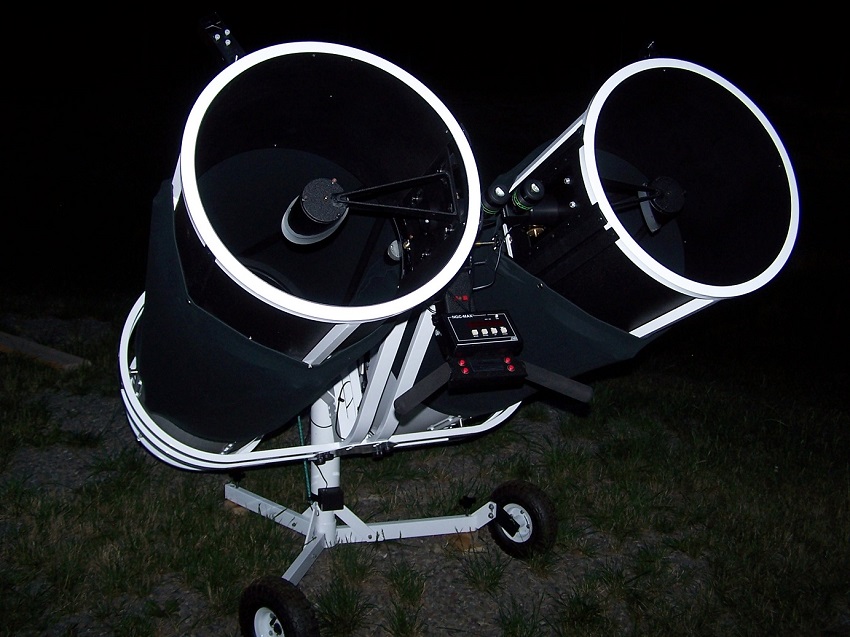
A large Bino-reflector can be a bit difficult to handle with collimation and alignment of the two OTA’s but the visual experience on Deep Sky Objects is out of this world.
Telescope Mounts for Bino Viewing
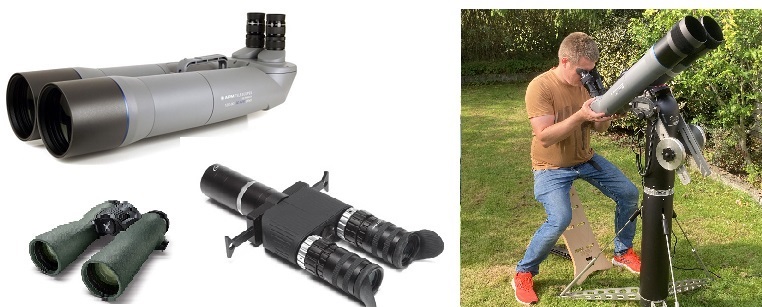
Binoculars
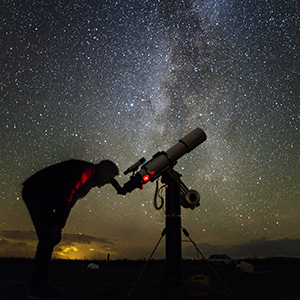
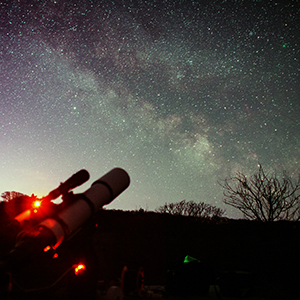
For normal Binoculars and small Bino-scopes a completely manual mount can be enough and satisfying. Normal photo tripod style mounts can be used, but when you observe very high in the sky you will benefit from a special type made for astronomy.

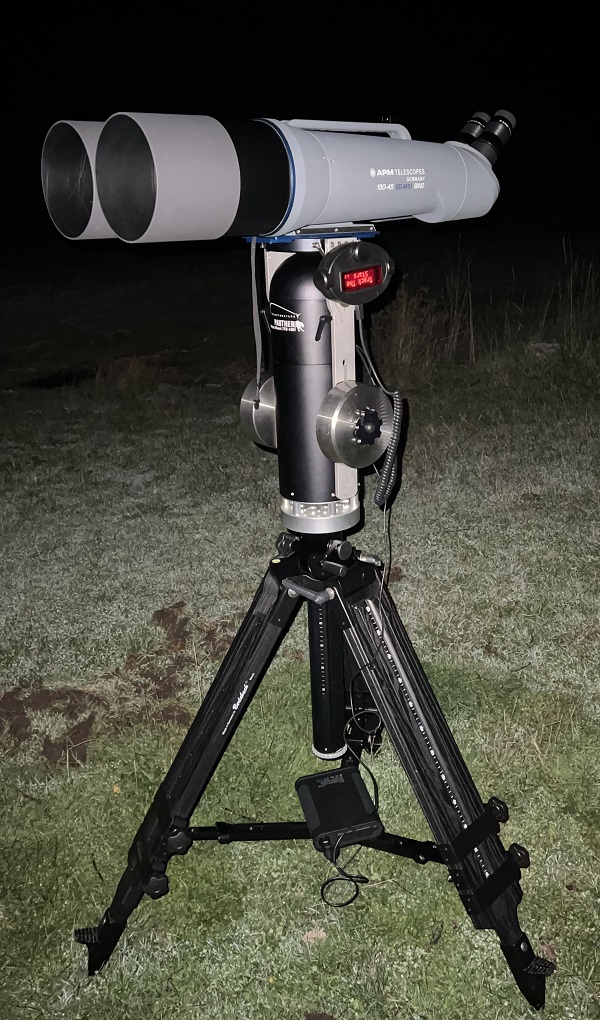
Larger telescopes and Bino-Scopes
When the equipment gets bigger a better mount is needed. When selecting the mount there are some parameters to focus on.
- Eyepiece position
- One very important thing to focus on is the eyepieces position. Getting both eyes in a good and relaxed position in front of the eyepieces is extremely important. If the mount tilts the telescope sidewards – like all polar aligned mounts do – you will end up having the head in unpleasant angles.
- No Meridian Flip – a meridian flip will turn everything up-down making it impossible to use with a Bino-Scope

Alt-Az mount tracking pattern
- Tracking and goto
- When you observe with higher magnification tracking is a must. Goto is also great even if you sometimes prefer to star-hop to the targets manually. This points to a Motorized Alt-az mount. For single telescopes with Bino-Viewer a side mounted solution is possible. For real Bino-Scopes a top-mounted solution is the best.
- Setting up a heavy Bino-scope
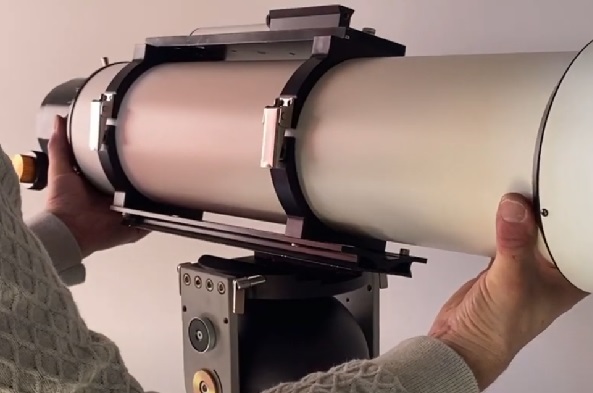
- A large aperture Bino-Scope is both bulky and heavy. Therefore it is extremely important to consider how to handle the telescope when transporting and setting up.
- A telescope mount with a top-mounted horizontal dovetail saddle is a great help when installing the telescope. It is possible to lift the telescope up on the saddle and rest it there while locking the saddle clamps.

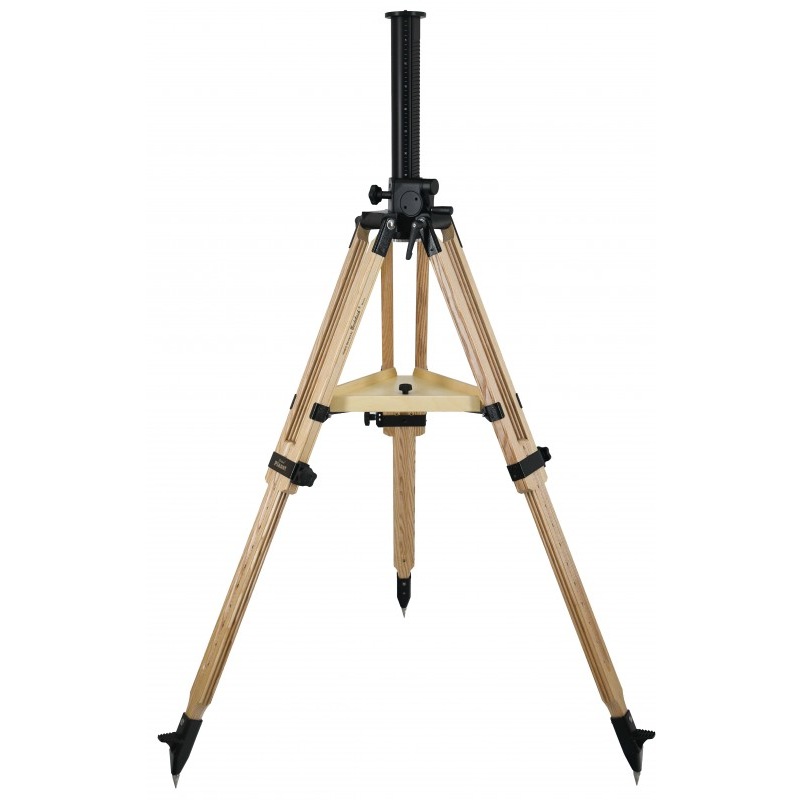
- To avoid lifting the telescope up too high, a Tripod with a geared column can be an advantage.Lower the Column completely – install the telescope – raise until the wished observation height.