To many clouds – to little clear sky – what can you do
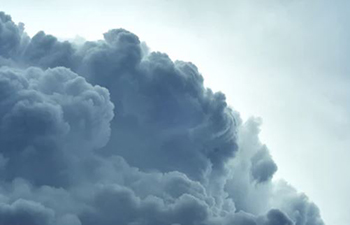
In Denmark we have few clear nights and from May to August we have light summer nights. So the nights where I can image the sky – as I love to do – are few.
What to do about it?
Some people invest in remote observatory facilities – but that is not really me. I enjoy to much being out with the telescope under the clear sky.
Instead I decided to try how I can get the most from the limited clear sky hours I have. The focus has been on:
- A fast optical system
- A pixel scale to give best sensitivity
- One Shot Color camera to keep things simple
- A setup that is easy to transport and fast to setup
- Going to a dark sky location to get the best signal to noise ratio
Based on this I assembled and tested a setup during this autumn and winter.
A fast optical system
Wanting to get a really fast optical system quickly limited the possibilities. Telephoto lenses can be very fast but only for short focal length. As I wanted more focal length there were two (affordable) options:
- Celestron RASA astrograph
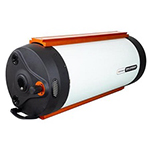
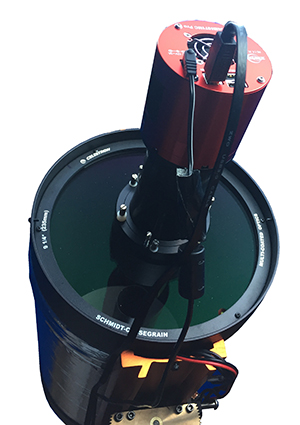
- Celestron SCT with Hyperstar System
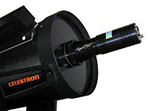
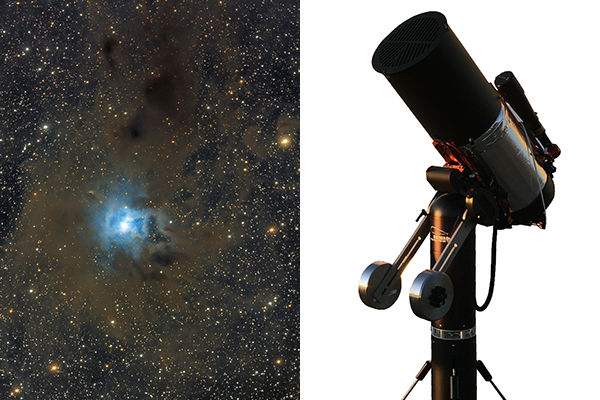
I am not able to say which of these solutions are the best, but I was so lucky that I got the chance to borrow a Celestron C9.25 with a hyperstar system from a friend. A great possibility to try things out.
The C9.25 in hyperstar configuration has a focal length of 540mm and focal ratio f/2.3.
A pixel scale to give best sensitivity
Speaking in general terms a larger pixel size will increase the Signal to Noise ratio, as more photons will hit each pixel (I am aware that there are many other aspects to this but for now we keep things simple). So as large pixels as possible..
But resolution must be considered too. With a typical best seeing around 2″ where I observe from, the general rule of thumb (and Nyquist Theorem) says I should aim for a pixel scale around 1″/pixel. But I aimed for larger pixels to get the highest sensitivity.
Again a good friend wanted to join this experiment and offered to let me try his ZWO ASI071MC Pro camera. With a pixel size of 4.78 x 4.78 um the pixel scale ends at 1.84″/pixel. Quite a large number but I decided to test this combo out.
And the ASI071 camera is a cooled One Shot Color camera meeting that request too.
A setup that is easy to transport and fast to setup
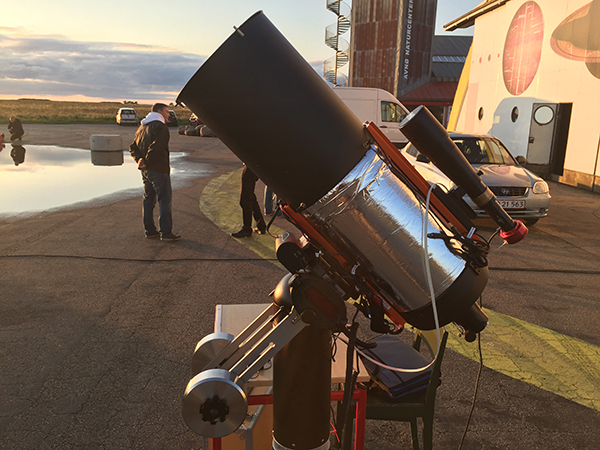
The Celestron C9.25 is a good transportable telescope. With an OTA weight of around 10 kg it is easy to handle and install on the mount. And it still offers a quite large Aperture.
The TTS-160 Panther Mount with telescope rOTAtor handles the telescope perfectly and is very easy to transport.
For guide scope I used a TeleVue TV60 with a ZWO ASI 224 camera.
With a little practice I was able to unpack the car and setup the system in less than 20 minutes and could be imaging 10 minutes later.
Going to a dark sky location to get the best signal to noise ratio
I live in a suburban area where I can image from my backyard – even with One Shot Color cameras. But for this test, I wanted also to get the benefits from a real dark sky. Therefore I on a few nights, drove about 1 hour away from Copenhagen to dark sky sites. It was my plan to do that more, but this winter the clear sky has been limited to short spells, making it impossible to plan excursions. So quite often the backyard has been used for a quick setup and imaging a short time.
Results and learning points from using the setup
Setting up and starting up
The setup was as fast and easy to handle as expected. With the terrible weather the system really proved its worth. When the sky suddenly cleared unexpectedly I was able to setup the system and start imaging in less than 30 minutes. What made the setup fast was:
- Fast setup without leveling needed
- No polar alignment needed
- Easy guiding with PHD2 using the same calibration over more nights
- Easy and fast focusing using a Bahtinov mask and the software Bahtinov Grabber
Image scale, exposure time, filters
Examining the first images quickly showed that the pixel scale was a bit large (1.84″/pixel). Zooming in on a single star showed some degree of undersampling.
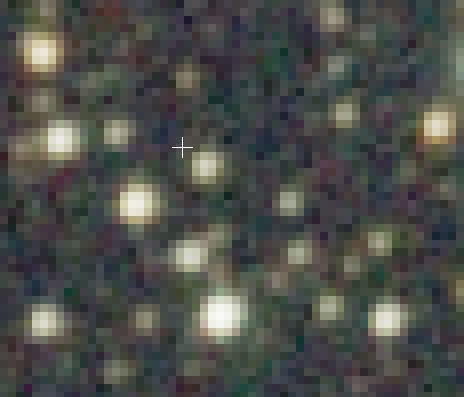
Therefore it was clear that this telescope/camera combination was usable mainly for large wide field targets. It was the targets planned from the beginning, but I would have liked also to image some smaller targets as well.
I tried several different exposure times for the individual subs. From 30 secs to 300 secs. And sometimes a combination was used to make HDR processing.
I also used two different filters: IDAS LPR filter and Baader IR Cut filter. The LPR filter had a good effect on the image contrast when imaging under a suburban sky, but made little difference when the sky was really dark.
How fast can you take an image
It is always better to have longer total exposure time on a target to decrease the noise. So the lucky guys living where the sky is clear very often can use 10 – 20 – 30 hours for a single image. If I wanted 30 hours for one image it would mean one or two objects per year…
So in this small experiment I have tried to see how short the combined exposure time can be.
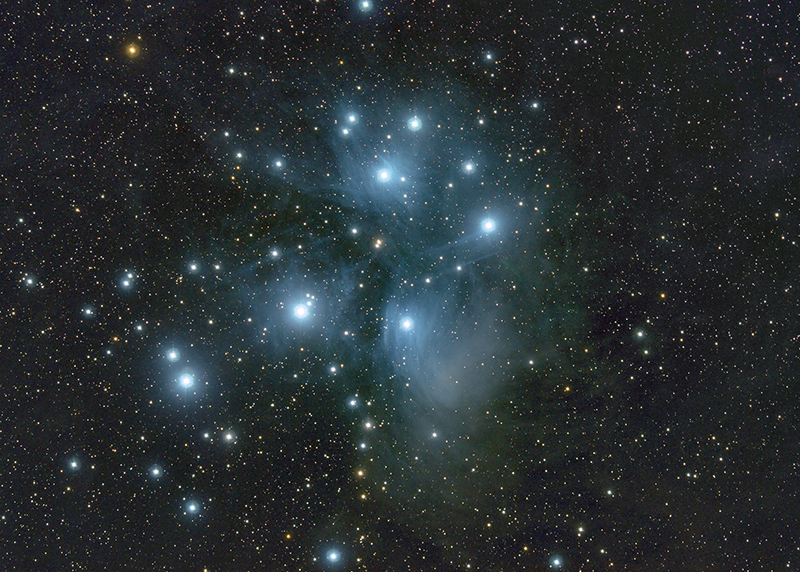
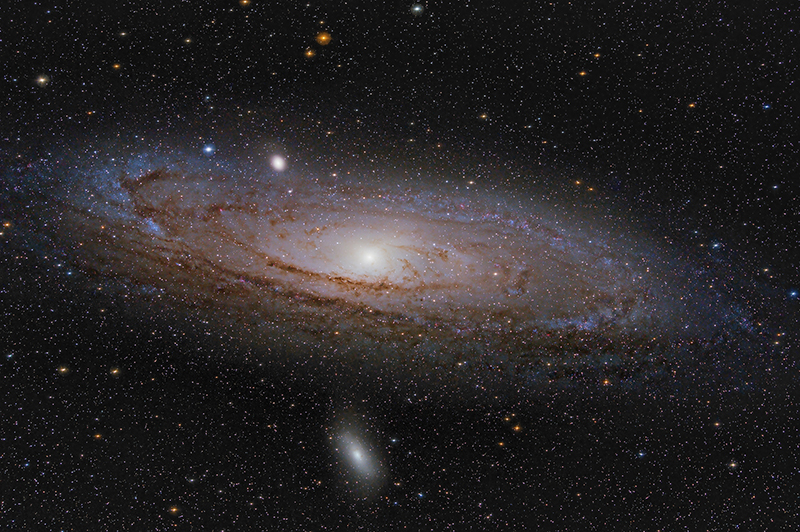
Here follows some examples of the images taken. All are taken with the setup described above and the camera at unity gain.
In order of increasing exposure time.
10 minutes total exposure time
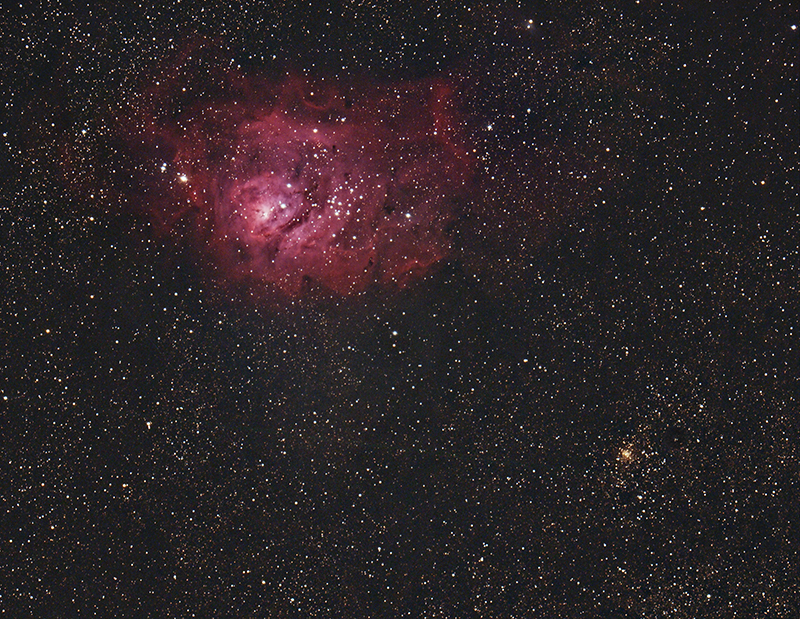
30 minutes total exposure time
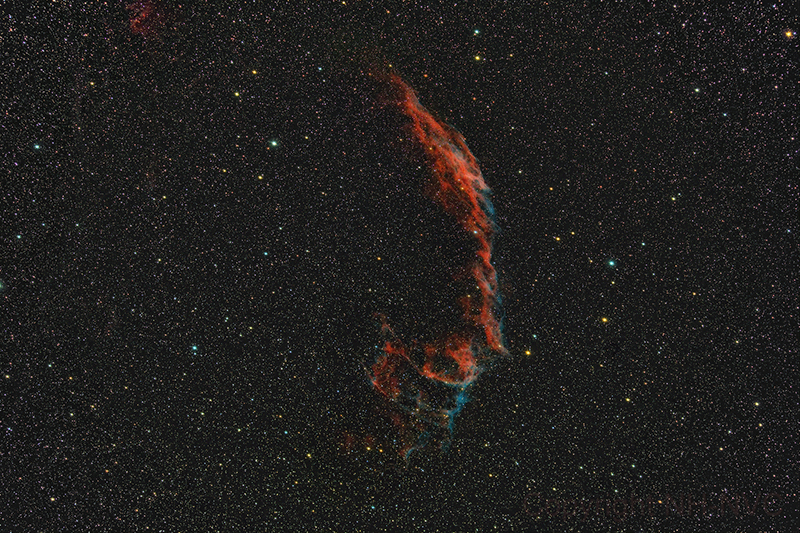
40 minutes total exposure time

60 minutes total exposure time
80 minutes total exposure time
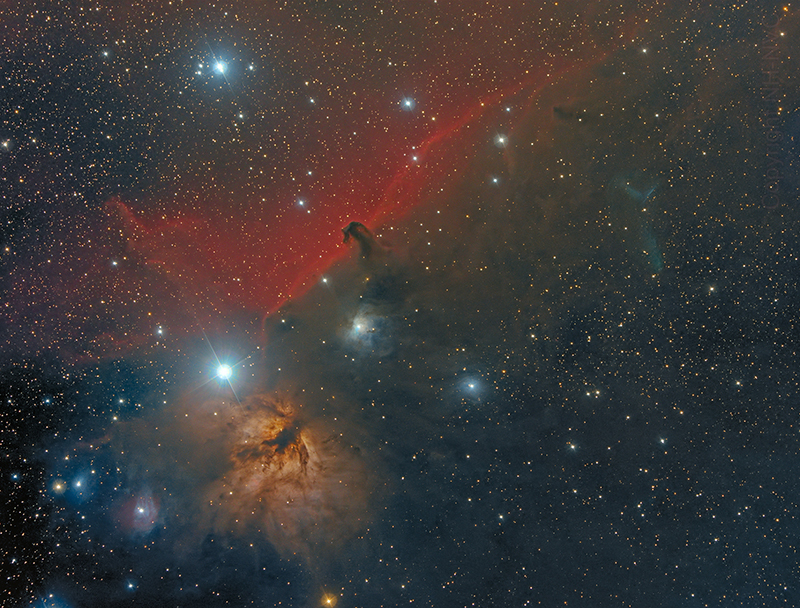
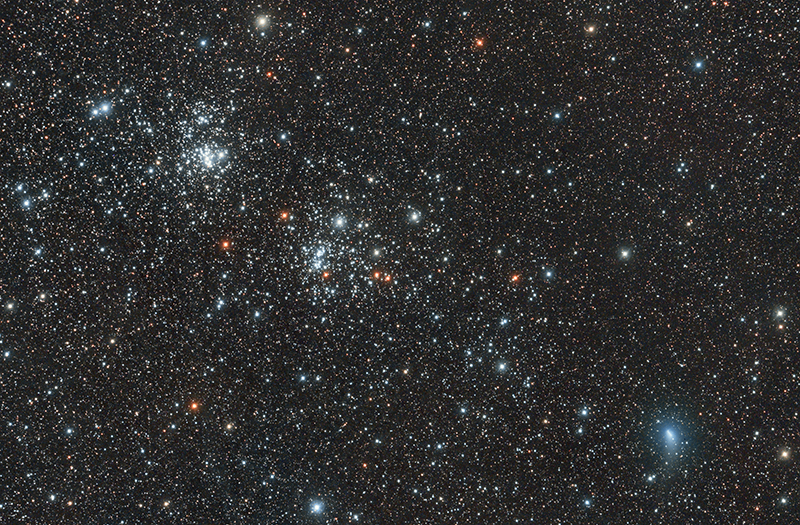
120 minutes total exposure time

Conclusion
The combined setup of the C9.25 Hyperstar and the Panther Mount is a very fast and effective imaging system. It is extremely well suited for many wide field targets. In the tests I have made the total exposure time has been limited, because of the typical weather conditions in Denmark. If you travel to better sky conditions, I am certain that longer integrations with this kind of setup, can give amazing results and catch very faint objects.
Using a camera with smaller pixels is among the things I would like to try out to see if smaller targets – like Galaxies – could be imaged successfully. Perhaps something I will try in the coming Galaxy season.
Thanks to Michael Rask for letting me borrow his C9.25 telescope.
Thanks to Niels V. Christensen for letting me borrow his ZWO camera and for processing many of the taken images.
Comments
One response to “Fast Deep Sky Imaging – fast optics, fast mount”
This article is fantastic. Total awesome.